Title
Embellies
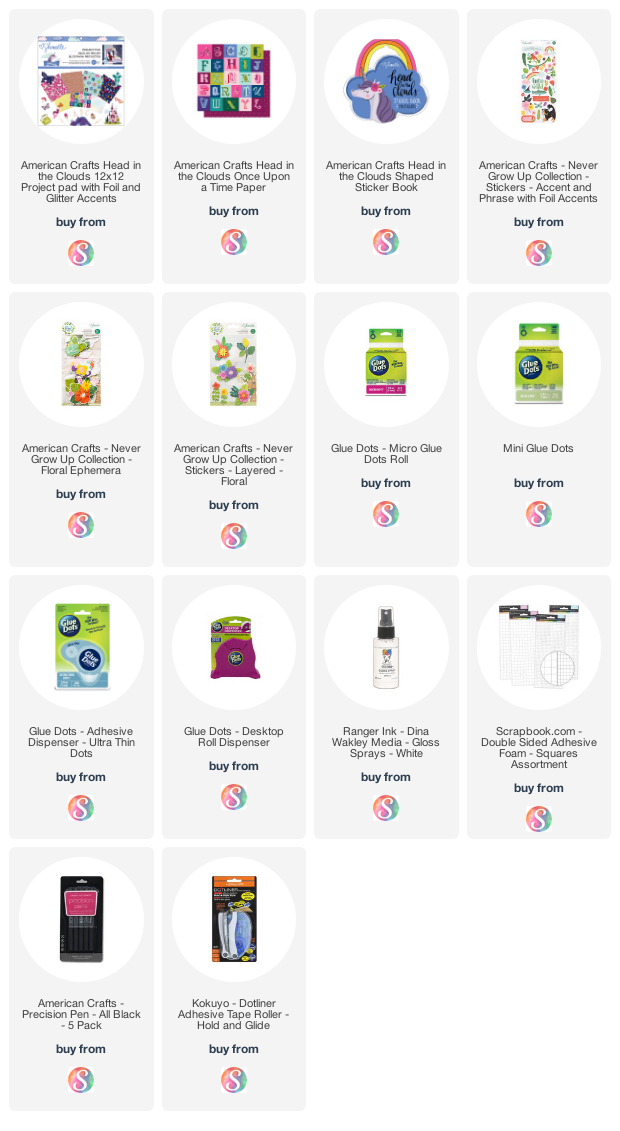
The products I used (or similar) are listed below:
Hello Lovelies!
This month our sketch for the Stick it Down Single Page Team is by the lovely Antonia and I REALLY love it!I can't tell you how I came to chose Book Week for this layout, but I did and what better way to use all the fun and whimsical images from Shimelle's Head in The Clouds and Never Grow Up collections.
Aren't childhood stories all about the dragons and unicorns and mermaids and all those fun things?
I decided to use one of those really REALLY hard to use background papers with a "scene" on them. Just because I could I guess. Few of my stories (at least so far) seem to lend themselves to them so I tried not to re-think my decision and just jump in.
I picked the one from the paper pad. It has the coppery foil accents which make it a bit more special. I backed it with the burgundy heard paper to tie in the other main colour in the layout (my nieces certainly are stretching me trying to make me use green and burgundy on the same page!).
I do confess to gutting it which I rarely do simply because I love it so much and wasn't sure if I'd want it for mats or embellies.
I opted to literally interpret the instax style frames in the sketch since I have a huge box of them which don't often get used. Every time feels like a win for me.
I was going to gesso the paper under the pics so the embellies wouldn't look so crazy. It dried more opaque than it usually does, but most ended up covered anyway. I figured this could be the part of the sketch that shows stenciled paste or ink.
Perfect colours for the first three words taken from two Paige Evans thickers sets and the rest from Shimelle's Never Grow Up Thickers
Please be sure to see what the other girls made and create a project of your own based on this sketch or one of the others!
This post contains the following affiliate links for the same or similar items in my layout. Please rest assured I never recommend what I don't love. You can learn more by clicking on the tab under the title bar.
Clicking on the via my blog doesn't cost you any more, but it helps me run the blog and YouTube channel. Your help is greatly appreciated!
Love, and Stick it Down!
This is Shimelle's version. She used a pattered paper with squares in an ombre rainbow, whereas I used one of her papers from her Box of Crayons collection with CIRCLES, so it needed a bit of thinking "outside the box" to make it work.
Most of the embellies are relevant one way or another (to me) even if they don't appear so to whoever is looking at the layout.
A
gift card to the crafty store of your choice to the value of $20USD (or
equivalent in your currency) to the closest denomination of card
available.
📌 I have three items (and a bonus fourth prize) to give away
(pictured below) and I'll pull three names for the first three prizes.
📌For the fourth "bonus" prize: it will go to someone who has
entered the main blog hop (please let me know your project numbers if you would like to be considered. You can
wait til the blog hop is over (but before the close of the giveaway) to do this since the order changes sometimes.)
📌
The first name drawn gets first choice, second name gets second choice
and so on. Bonus prize will be TallCraftyDude's favourite project!
📌 This Giveaway is NOT SPONSORED.
I purchased the prizes especially for this giveaway. This year I
picked stuff other than just stamp sets to mix it up a bit
You
will receive an entry (or entries) for each of the following. You
absolutely don't have to do everything - just how ever many you like.
If you have previously followed my socials then these are already counted for you! (unfollowers will not be counted)
📌 The giveaway will remain open until 11:59PM AEDT on Friday 6 November. Please visit THIS SITE to calculate in your own timezone
📌 The winner will be drawn on Monday 9 November so PLEASE CHECK BACK HERE
❗If the winner and I can't make contact by Monday 16 November, I will have to draw a new winner since I need to get these prizes out all together.
❗Please try to email me at alex@pinkcraftymama.com
This really is the easiest way for me to get in touch with you since
not all blogger profiles have an email attached and if you JUST leave
comments, I have no other place to search for you.
So...what do you have to do to get entries?
Please don't hesitate to email me with any questions at alex@pinkcraftymama.com
🐱
Update! Since my first project (the cat masks) caused so much
excitement, the three winners of the physical prizes can pick a cat
fabric and I will make a mask to go with their prize (if they would like
one).
A
gift card to the crafty store of your choice to the value of $20USD (or
equivalent in your currency) to the closest denomination of card
available.
📌 I have three items (and a bonus fourth prize) to give away
(pictured below) and I'll pull three names for the first three prizes.
📌For the fourth "bonus" prize: it will go to someone who has
entered the main blog hop (please let me know your project numbers if you would like to be considered. You can
wait til the blog hop is over (but before the close of the giveaway) to do this since the order changes sometimes.)
📌
The first name drawn gets first choice, second name gets second choice
and so on. Bonus prize will be TallCraftyDude's favourite project!
📌 This Giveaway is NOT SPONSORED.
I purchased the prizes especially for this giveaway. This year I
picked stuff other than just stamp sets to mix it up a bit
You
will receive an entry (or entries) for each of the following. You
absolutely don't have to do everything - just how ever many you like.
If you have previously followed my socials then these are already counted for you! (unfollowers will not be counted)
📌 The giveaway will remain open until 11:59PM AEDT on Friday 6 November. Please visit THIS SITE to calculate in your own timezone
📌 The winner will be drawn on Monday 9 November so PLEASE CHECK BACK HERE
❗If the winner and I can't make contact by Monday 16 November, I will have to draw a new winner since I need to get these prizes out all together.
❗Please try to email me at alex@pinkcraftymama.com
This really is the easiest way for me to get in touch with you since
not all blogger profiles have an email attached and if you JUST leave
comments, I have no other place to search for you.
So...what do you have to do to get entries?
Please don't hesitate to email me with any questions at alex@pinkcraftymama.com
It's challenge time again over at The Paper Girls Challenge Blog and I'm hosting Challenge #209 so I'd really love it if you played along! The theme is Weddings since the NotPinkCraftyHubster and I will be celebrating TWENTY YEARS 😱😱😱in two days (on the 7th)!
That's almost a life sentence and there's no-one else I'd rather be serving it with. 😘😘😘
If you are taking Shimelle's Start with a Sketch class my layout is based on sketch #13.1. Co-incidentally, Shimelle actually shared this one on her Insta just a few days ago!
I'm using my September For the Love of Homemade Kits kit (as I did for The Paper Girls Challenge #208 which I didn't blog, so I'll do it in this post!).
Instead of two photos, I used just one which gave me room for a longer title and plenty of journaling. I meant to do a process video for this one and my last TPG challenge, but life and adulting got in the way. I'll do a layout share instead sometime soon so watch out for that!
Cut files are one element which I'm trying to use repeatedly in my wedding album and this floral wreath by Paige Evans had what looked (at least to me) like roses and hypericum berries like we had in our flowers!
Shimelle's version uses backs fewer elements of the cut file and fewer "sprinkly bits", but I always love more and being a wedding album layout means I can do more!
I sprinkled gold mist on the cut file first and some of the leaves are backed with the dictionary print vellum from the kit. I also ended up sacrificing more of that moon paper being the most perfect watercolour for the roses and I love the feint scripty text as an added bonus. I also tried to make the berries look like the hypericum I desperately wanted in the bouquets. The extra effort was well worth it!
I just don't know how Shimelle managed to fit two photos, a title and all her journaling in the same space! I definitely had to be a bit creative in trying to get my title in. I could have left it out but I felt it kind of tied into the story. I did have have to pull in three different small alphas not in the kit (and of course the enamel dots)


Here's my layout for Paper Girls Challenge 208. It uses photos from out pre-wedding photo shoot. The paper at the top reminded me of the wrought iron in the picture and I really wanted to use that fun red paper from Love Elsie. The layout as a whole didn't exactly turn out the way I hoped, but it's ok. I also "cheated" by bringing in the red flocked Thickers, but they did come out of my huge wedding album kit of supplies.
The third project (which I actually made second) from my September FLHK does have a process video.
I did have to bring in the background paper, which wasn't in the kit, but I explain a bit more about that in the process video.
This was created for September's Quilter's Vibe collaboration.
It also uses a cut file by Paige Evans, but with a very different look to it.
Please visit The Paper Girls Challenge and enter a papercrafty project! We'd love to see you there!
Love, and prolific papercrafting!