It reminds me somewhat of those books or television programs where you have to pick an option which determines how you proceed. So here goes:
The Scenario:
You're running on rationed energy reserves, still recovering from post-infusion aftermath and co-hosting a baby shower the following day. You need to make three desserts and a card. You spend the day baking and working on the desserts. 12 hours remain until the event and you initially consider leaving the card til morning but think better of it. Do you:
A) Acknowledge youe limitations and choose a card design which was easy and elegant, striking yet simple and would allow you to conserve what little energy you had for the following day.
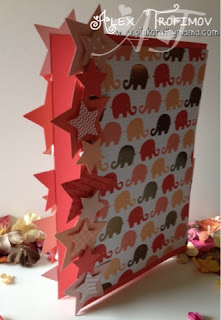
B) Set your heart on a shaker card (never having made one before) - one with a star shaped window and stars along the side.
You picked option B? Go you and your nerves of steel!
So now what? How do you pull off this crazy idea? Do you:
A) Find a tutorial online with clear instructions and a simple technique, Ideally one with a video.
B) Go rogue! Decide now is the ideal time (do you hear the clock ticking??) to see whether an idea for a technique for shaker cards that has been at the back of your mind for a few years will actually work. You have neither time nor desire to practise so you get stuck right in,
Option B again? Like a Boss!
And so that's what we did.
I learned a lot from this card which was larger at 6x8 inches. While I was really pleased, I also know what I would do differently.
When the latest In-Colours were released, I always thought about Watermelon Wonder and the "You Are My Happy" collection by Teresa Collins despite not being an exact colour match. I also thought the elephant print paper would make a great pattern for a baby girl card with a "different" colour scheme,
I picked some other colours I thought would give a similar effect (Calypso Coral, Blushing Bride and retired Crisp Cantaloupe). Interestingly none were exact matches to the colours on the paper, but because the colours were all variations on pinks, reds and peaches, the additional shades looked like a purposeful choice.
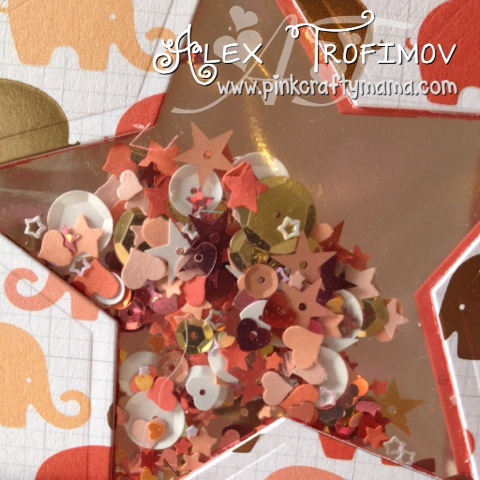
Next, I put together sequins, spangles and punched "confetti" to stuff the pocket with, It's a little tricky to put in enough to be able to see it, but not so much that it doesn't "shake". In retrospect, I'd add a little more stuffing next time.
I've thought for a long time that page protector designs I wouldn't use or ones I'd cut down to use as inserts would make great shaker pockets.
I thought I'd sew them since I sew on layouts, cards and modifying page protectors but I was a little unsure how machine stitching would hold all the tiny sparkly goodness inside. Since the idea was born, WeRMK came up with a Photo Sleeve Fuse tool which I thought long and hard about before giving in and buying it.
Sometimes a few page protectors in a pack come damaged or certain small people damage them so I figured I'd get enough use out of it.
I'm pleased to say it worked beautifully.
I cut stars from DSP stacks and cardstock and stamped just one. Given more time I'd do more to them - heat embossing, dry embossing, stamping and maybe use more gold. I would also add a star to the inside of the card on the "back" of each star (am I making sense?), but I did position them on both sides of the card so they'd align.
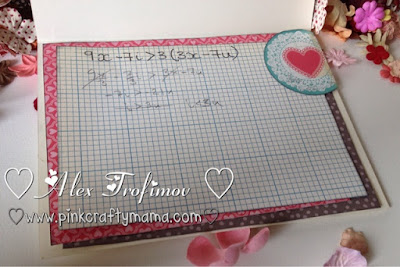
Because my craft area hasn't been fully organised, I just grabbed what I
could easily find in terms of embellishments and something to "hold"
the sentiment. I used a sticker to alter the words on the polaroid frame
and wrestled with the alphabet stickers to align the way I wanted
(despite the scripty font causing grief with its ascenders!!)
I can safely say my craft area now looks horrific as a result of the frenzied crafting, It looks as though some sort of explosive device detonated in a craft store.
Oh well - damage control tomorrow and more colouring after that!


